When your back hurts, you want fast relief. Nothing is worse than feeling restricted in your movement or experiencing pain.
So take a proactive role to help speed up recovery. It’s not enough to pop pain bills or lie in bed, waiting to feel better.
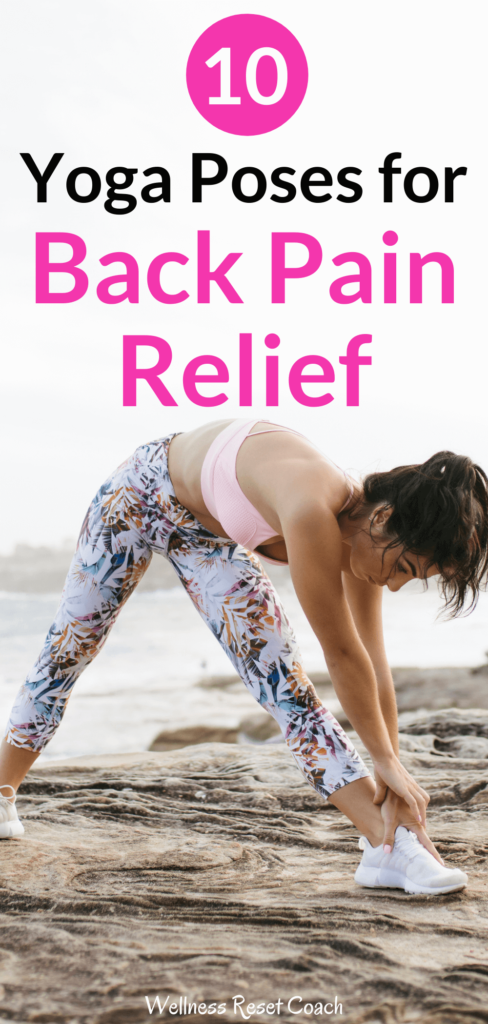
Yoga for back pain
You may go to the chiropractor or get acupuncture. But there are ways to support your recovery.
Consider yoga for back pain to help you mend faster.
And prevent it from happening in the future!
Yoga can help you stretch and strengthen your back. For instance, it helps the paraspinal muscles that help you bend and the multifidus muscles that strengthen your vertebrae.
Working out with an injured back can be a bad idea. But yoga is gentle.
It can help you relax and relax. And it helps you create a mind/body connection so you become more body aware. Plus, it’s amazing for improving your posture.
There are so many benefits of yoga for back pain.
Here are 10 essential poses to stretch, strengthen, speed up recovery, and naturally reduce pain.
Related reading: Beginner Yoga for Strength and Flexibility
Cat/Cow
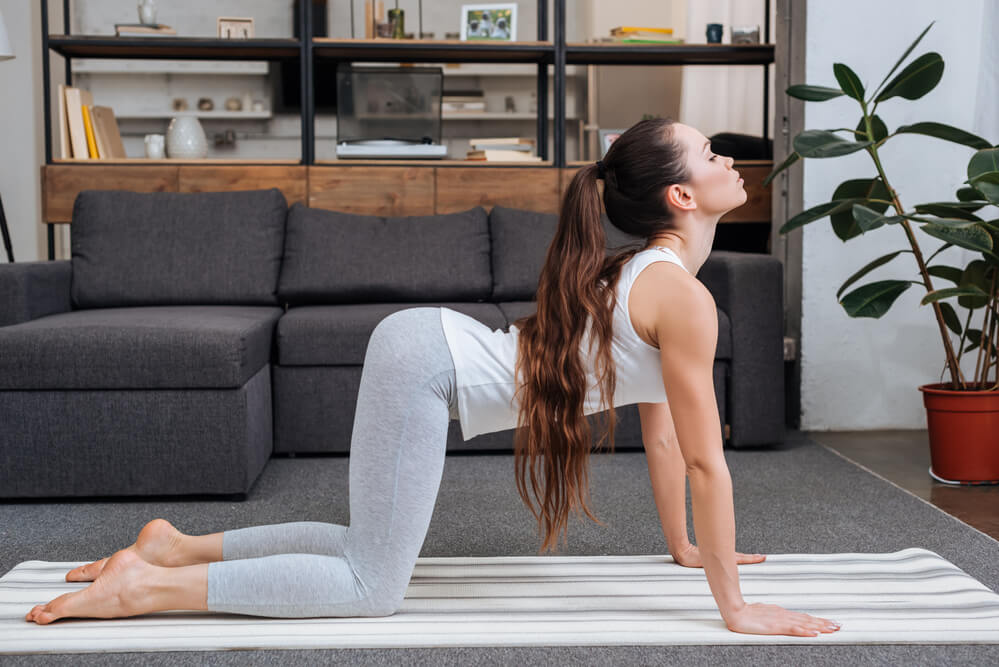
This pose is a great stretch for your spine. It helps you flex and extend. And this assists with promoting overall back mobility and reduces tension
Here’s how to do it.
On a mat, start on your hands and knees.
Your hands are under your shoulders and your hips are over your knees.
Knees are bent with the tops of your feet on the floor.
Take a breath in and exhale. Round your back up as the top of your head drops towards the floor. (cat)
Inhale again and tilt your tailbone so it sticks up. Your head and chest follow and move towards the ceiling. (cow)
The cat/cow pose helps your back with fluid movement. Go back and forth between cat and cow.
Forward bend
When we were little kids, Simon Says told you to touch our toes. But Simon never explains how this movement can be so comforting for the back.
Yoga for back pain doesn’t have to be complicated movement. This is a great way to stretch and release tension in the legs and lengthen the spine.
How to do it –
Stand with your feet shoulder width apart. Your legs should be straight, but you should have a slight bend in your knees.
Tuck your chin into your chest, relax your shoulders, and drop the top of your head towards the ground.
Your hands should touch your feet or the ground. Or if you prefer, grab the opposite elbow as your arms cross over your head.
Don’t push yourself if you’re stiff. It’s fine to bend your knees if you can’t hold this position with straight legs.
Hold this position for 60 seconds and roll up.
Downward facing dog
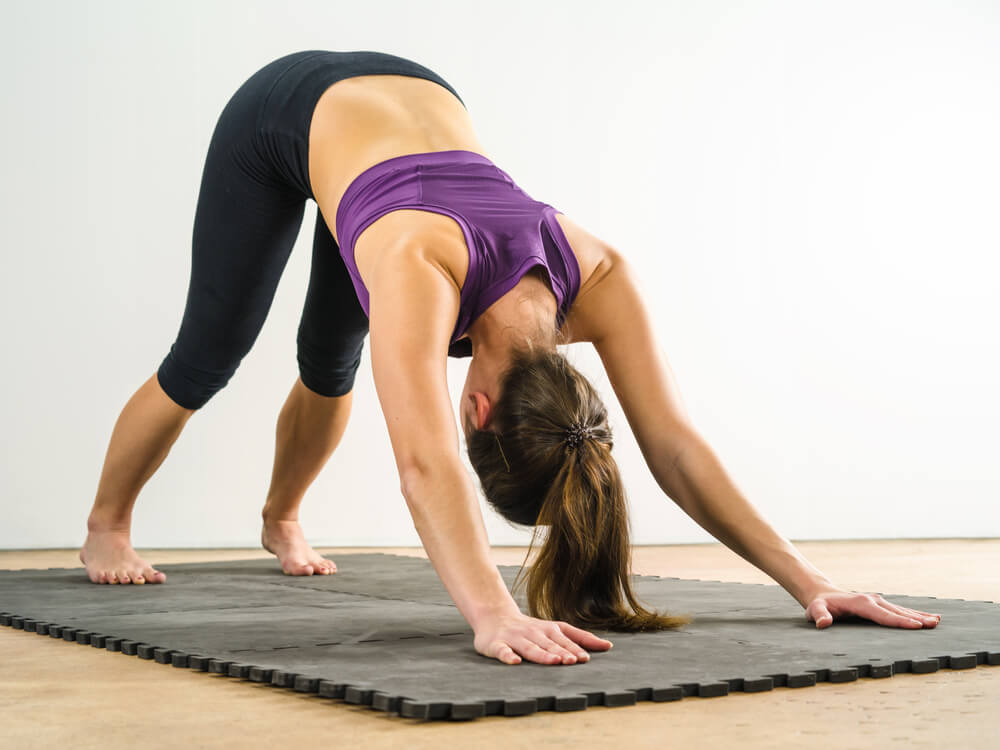
This pose is a good overall stretch. And it helps stretch out the leg muscles which can deeply impact your lower back.
Plus it’s deeply relaxing and helps relieve body tension
How to do it-
Begin on all fours like with cat/cow
Put pressure through your palms as you raise your knees. Your stomach should move towards your thighs.
Your arms push towards the floor and your legs should straighten.
Drop your towards the floor. Your gaze will be towards your legs or naval.
At first you may do this with your knees slightly bent. Eventually, your knees should be straight (but not over-extended) and your heels should push towards the floor.
Hold this pose for a great stretch.
Pigeon pose
Yoga for back pain isn’t just about stretching your back. Tension in your hamstrings and hips will lead to a sore, stiff back.
Pigeon pose is a great stretch for your hips. And that will mean less pain for your back, especially your lower back.
How to do it –
From your downward facing dog, Lift your right leg up behind you and move it towards your left wrist.
Lay down your bent leg. Your foot is behind your wrist. Your shin is under your torso on the floor.
Rest and release in this position. The further forward your right heel, the deeper the stretch.
Bridge pose
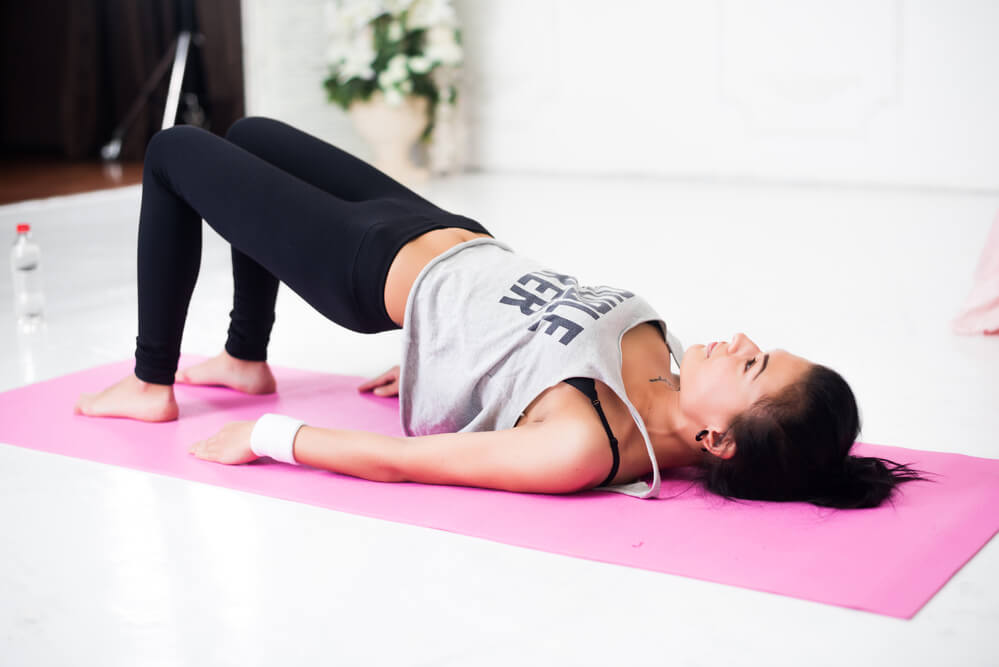
This one is especially good for the middle back as it can strengthen muscles along your spine. It’s also helpful for improving standing posture.
Plus, this move can feel somewhat relaxing since it’s done on your back. Promote mental and physical relaxation to help speed up recovery.
How it’s done –
Lie on your back with your arms to your side. Your knees are bent and your feet are flat on the ground.
Raise your pelvis towards the ceiling.
Hold this pose for 5 seconds. As you do so, give a gentle squeeze to your buttocks.
Lower your vertebrae to the ground. As you do so, focus on your back sinking into the ground one vertebrae at a time.
Happy baby
This pose is exactly as it sounds. It’s a soothing pose that mimics the movement of a small, child exploring soothing movement with their body.
As we get older, many of us sit too much. And this pose stretches out the hips and lower back to reduce any pain.
Plus this pose can just make you happy.
How to do it –
Lie on your back with your gaze to the ceiling.
Now raise your feet into the air so they are shoulder width apart. Bend your knees, and lower your them towards your armpits.
Keeping your knees bent, make sure the bottom of your feet face the ceiling. Reach with your hands to the outside of your feet. Hold onto the backs of your thighs or the bottom of your feet.
In this position, gently rock from the left to the right. This should give your lower back a gentle massage.
Reclined hamstring stretch
It has been mentioned before, but tight hamstrings can lead to back pain. And here’s another movement that can stretch them out.
This movement alone can do wonders for lower back pain.
How to do it –
Lie on your back. Your arms should be by your side and your gaze should be at the ceiling.
With your left leg straight, move your right leg into the air towards the ceiling. Stop before your pelvis lifts off the ground. Your pelvis should be flat on the floor.
Grab onto your right thigh with both hands. Try to pull your leg in closer.
If you have any trouble reaching up to your thigh, you can use a prop like a yoga band around your leg to hold.
Stay in this for 30 seconds and gently lower your right leg to the ground. Now do this pose again with your left leg in the air.
Sphinx pose
Now it’s time to move from your back to your belly. Another good yoga for back pain move is sphinx pose.
This one stretches your chest, shoulders, and entire spine.
How to do it –
Lie on your stomach. Your legs are straight and long behind you.
To start, your elbows rest under your shoulders with your forearms in front and palms facing down.
Now squeeze your abdominals. As you do so, lift your torso and head. It should feel like there’s a string at the top of your head pulling you up, helping you lift through the spine with your gaze forward.
Hold this for 60 seconds and go back to neutral.
Locust pose
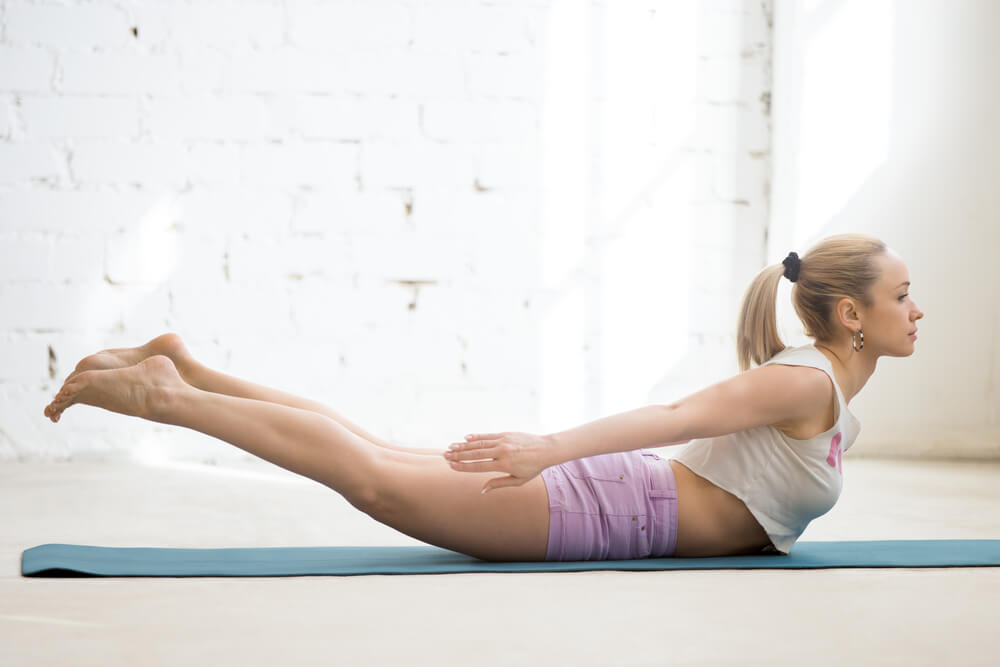
This helps stretch out your arms, legs, and spine while releasing your lower back.
It has much of the movement of a backbend. However, unlike a traditional backbend, you do this one on your belly.
How to do it –
Lie flat on your stomach. Your arms are by your side with your palms up. Your legs are hip width apart and straight behind you. And your forehead is on the ground.
Now lift up your arms, chest, and head. Go as high off the ground as you’re able. If you’d like to intensify the stretch, you can also try lifting your legs up behind you to create more of a backbend movement.
Your gaze is straight ahead. Do not bend or wrench your neck.
Hold this for 30 seconds.
Spinal twist
This is a great move to create length and strength in your spinal muscles. Plus, the twist is very detoxifying which increases the feeling of release.
This is one you should enjoy. It just makes your back feel good.
How to do it –
Start seated with your right leg long on the ground. Your left knee is bent with your foot on the floor. The foot of the bent knee is pulled in close to your torso.
Place your left hand on the floor behind you. Straighten your right arm and twist left. Your right elbow should be leaning on the left side of your knee.
Focus on lengthening your spine with every exhale and try to twist further. Continue for 60 seconds.Now go back to neutral.
Then do this on the opposite side. This time you’ll twist to your right side.
If you want to start a regular yoga practice, but don’t quite know how to get started, you should check out Avocadu’s Yoga Fat Loss Bible for Beginners!
If you’re new to yoga but are interested in learning more and becoming more flexible, I highly recommend Avocadu’s Yoga Fat Loss Bible for Beginners!
This does not require you to be an expert or have expensive equipment. All you gotta do is show up and practice!
If you want to get rid of back pain permanently, this is a great practice to get into. You’ll not only have less pain, but will feel happier and even improve flexibility! Another bonus is this practice comes with a beginner meditation guide to help with stress and anxiety.